> ## Documentation Index
> Fetch the complete documentation index at: https://docs.salesbricks.com/llms.txt
> Use this file to discover all available pages before exploring further.
# Setup
> Connect your Stripe account to collect credit card and ACH payments. Skip this guide if you're not using credit card or ACH payments in Salesbricks, or not using Salesbricks for billing.
## Why the Stripe integration matters
Our Stripe integration allows you to collect payments through **credit card** or **ACH** in Salesbricks, then move the money to your existing payout accounts.
To make this work, Salesbricks creates a **connected account** under your parent Stripe account. This gives us the permissions needed to manage your Salesbricks transactions — without access to the rest of your primary Stripe account.
Important to note: The Stripe integration does not link directly to your existing Stripe account. You will be required to set up a new connected (shared) account, though you may be able to reuse company details already saved in Stripe (more on that in the next section below.)
Salesbricks leverages Stripe solely to collect payment; it does not use Stripe's subscription or invoicing functionalities. When a credit card or ACH payment needs to be processed, Salesbricks handles all of the logic around subscription, billing frequency, and payment terms, and creates a Customer object within Stripe only.
## Connecting Stripe to Salesbricks (\~10-20 mins)
The first few steps happen inside Salesbricks and take just a couple of clicks.
The remaining steps happen on **Stripe's side**, where Stripe verifies your business before it can process payments. Stripe's onboarding screens vary by country and business type, so what you see may differ from the examples below.
**Have these ready before you start** (Stripe will ask for them if you're creating a new business):
* Business details (legal name, address, and tax ID / EIN)
* A bank account for payouts
* Identity details for an authorized representative and any business owners
* Public details (statement descriptor, support contact)
### Step 1: In Salesbricks
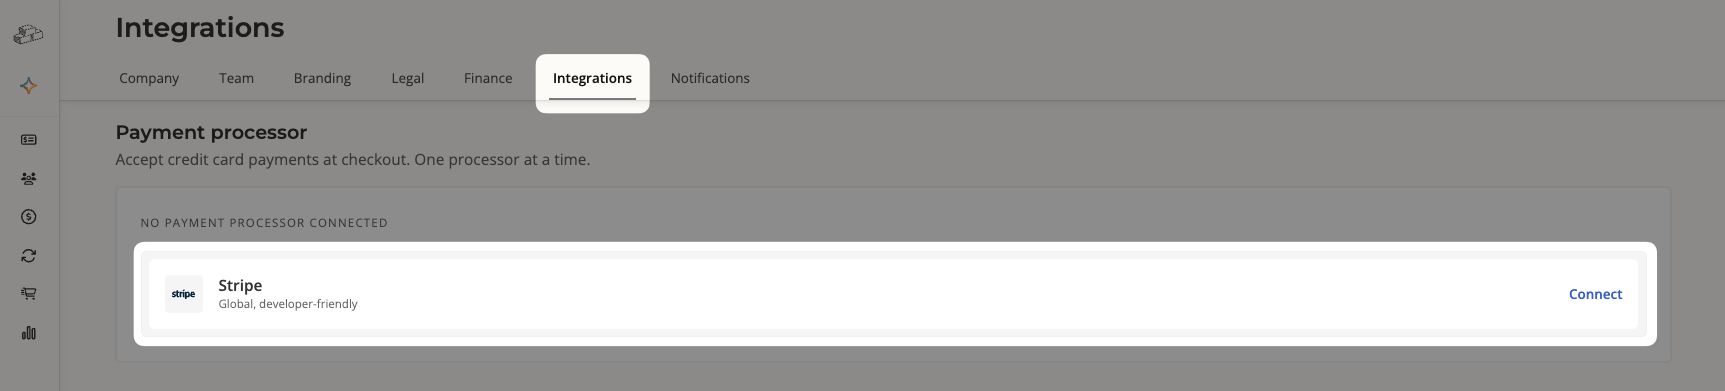
In Salesbricks, navigate to **Settings** -> **Integrations**, and click **Connect** on the Stripe card.
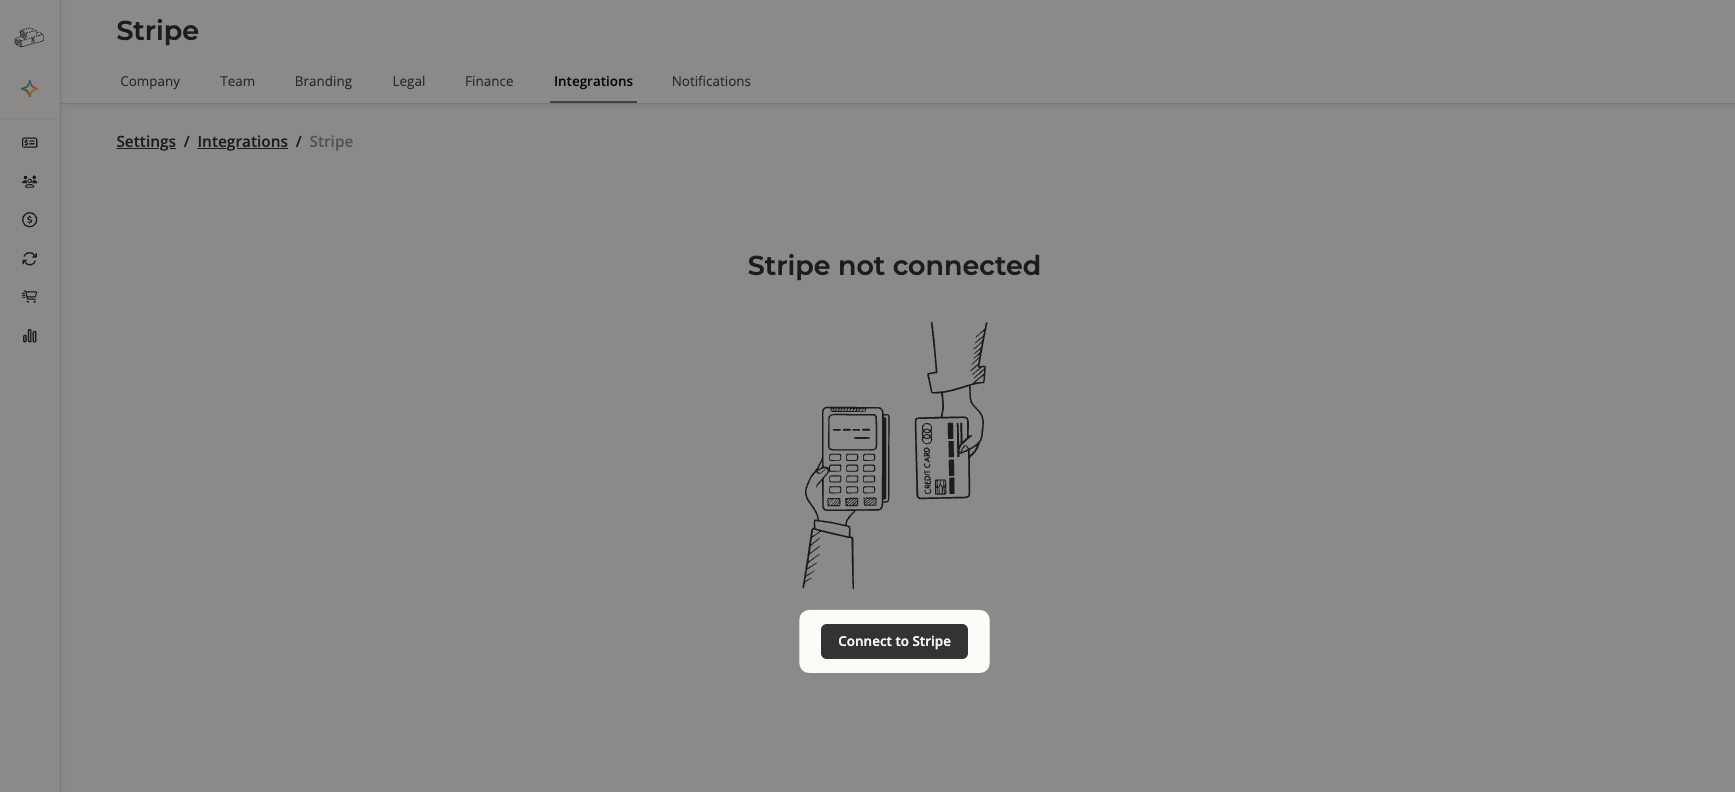
 Click **Connect to Stripe**. This will hand you off to Stripe to complete the rest of the setup.
 ### Step 2: On Stripe
You're now on Stripe. The steps below are part of **Stripe's standard account verification** — the same process Stripe requires of any business that collects payments. The number of fields depends on your country and business type.
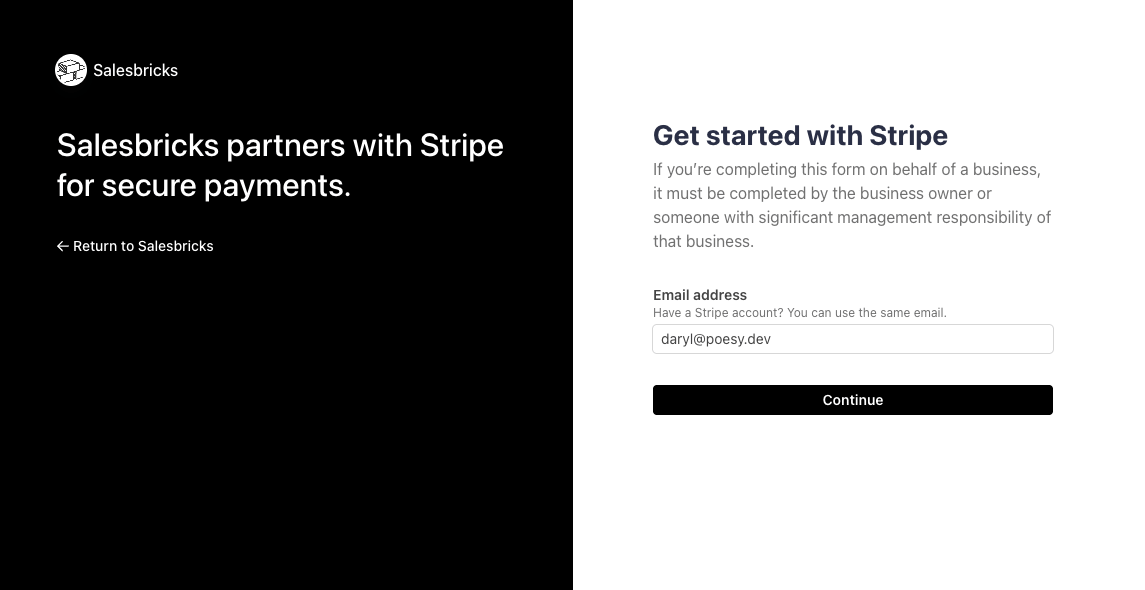
Log in to your Stripe account.
### Step 2: On Stripe
You're now on Stripe. The steps below are part of **Stripe's standard account verification** — the same process Stripe requires of any business that collects payments. The number of fields depends on your country and business type.
Log in to your Stripe account.
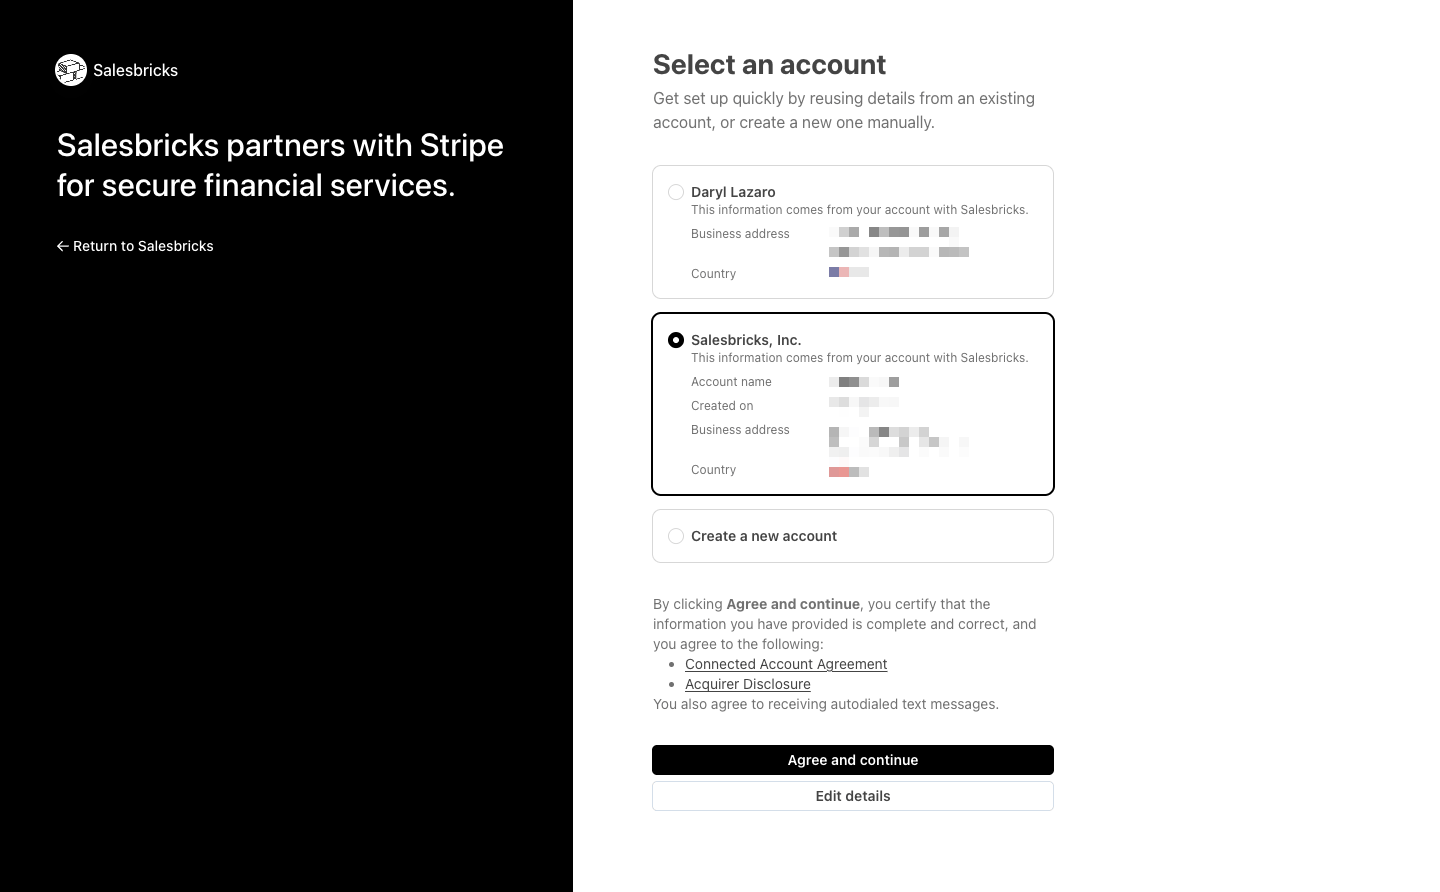
 If you've already set up a Stripe account, you may be able to reuse those details. Otherwise, select **Create a new account/business** and click **Continue**.
Otherwise, If you already have a business created in Stripe but don't see the option listed, you may not have administrative permissions within Stripe to perform the integration for that account (see "Troubleshooting").
If you are still not able to see your saved details after troubleshooting, you can create a connected account as if it were a new business. It will still link to your primary Stripe account, but you will need to fill in business details from scratch.
If you've already set up a Stripe account, you may be able to reuse those details. Otherwise, select **Create a new account/business** and click **Continue**.
Otherwise, If you already have a business created in Stripe but don't see the option listed, you may not have administrative permissions within Stripe to perform the integration for that account (see "Troubleshooting").
If you are still not able to see your saved details after troubleshooting, you can create a connected account as if it were a new business. It will still link to your primary Stripe account, but you will need to fill in business details from scratch.
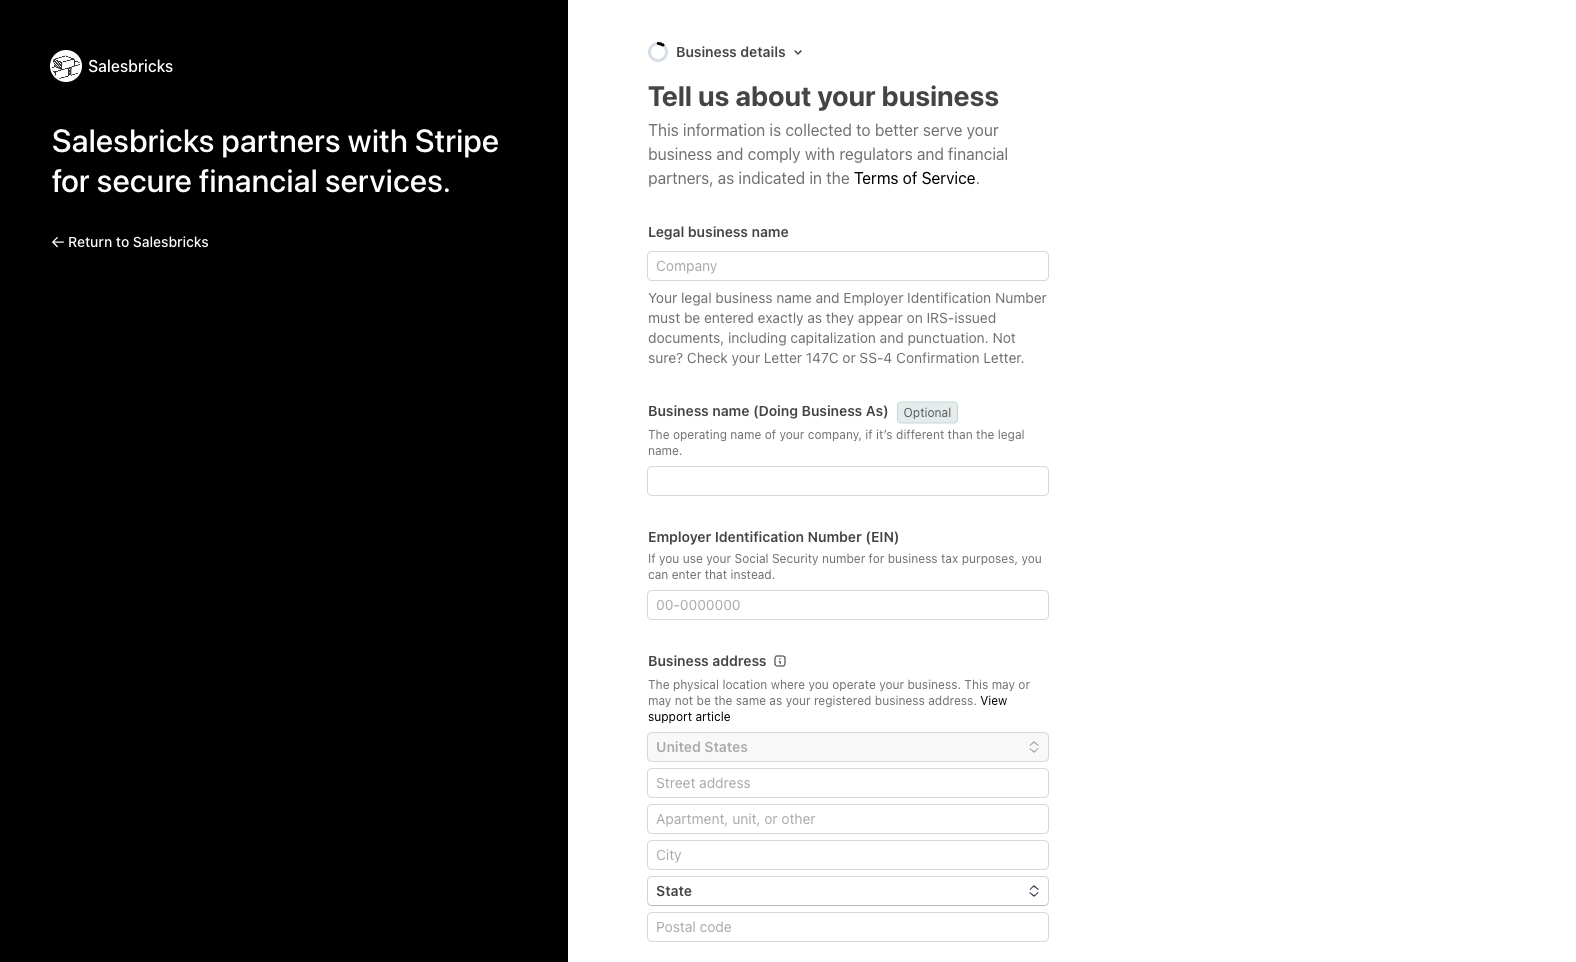
 **Complete Stripe's business verification.** If you selected an existing business, you'll mostly **review and confirm** pre-filled details. If you're creating a new business, Stripe will walk you through several screens to collect:
* **Business details** — legal entity type, business name, address, and tax ID / EIN
* **Bank account** — where Stripe deposits your payouts
* **Representative & ownership** — Identity details for an authorized representative and any business owners
* **Public details** — statement descriptor and a support contact your customers will see
This is the longest part of setup. Take your time — Stripe saves your progress, so you can pause and return if you need to gather a detail like your EIN or bank information.
**Complete Stripe's business verification.** If you selected an existing business, you'll mostly **review and confirm** pre-filled details. If you're creating a new business, Stripe will walk you through several screens to collect:
* **Business details** — legal entity type, business name, address, and tax ID / EIN
* **Bank account** — where Stripe deposits your payouts
* **Representative & ownership** — Identity details for an authorized representative and any business owners
* **Public details** — statement descriptor and a support contact your customers will see
This is the longest part of setup. Take your time — Stripe saves your progress, so you can pause and return if you need to gather a detail like your EIN or bank information.
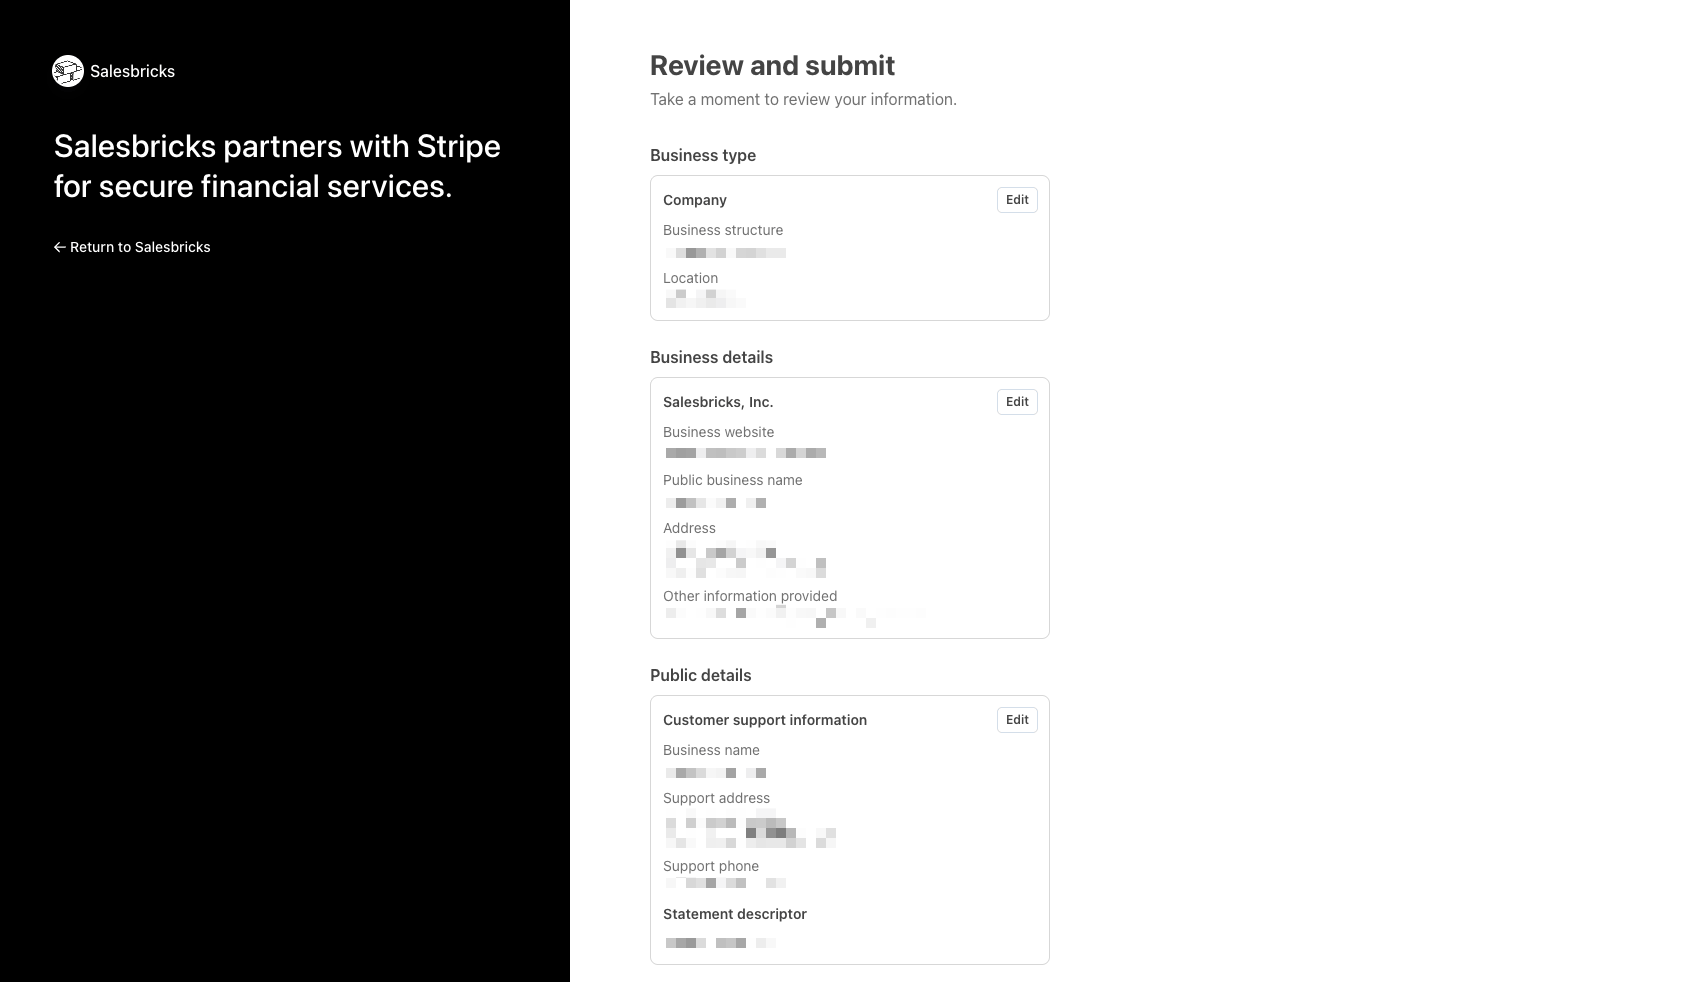
 Review everything on Stripe's summary screen, then click **Agree & Submit**.
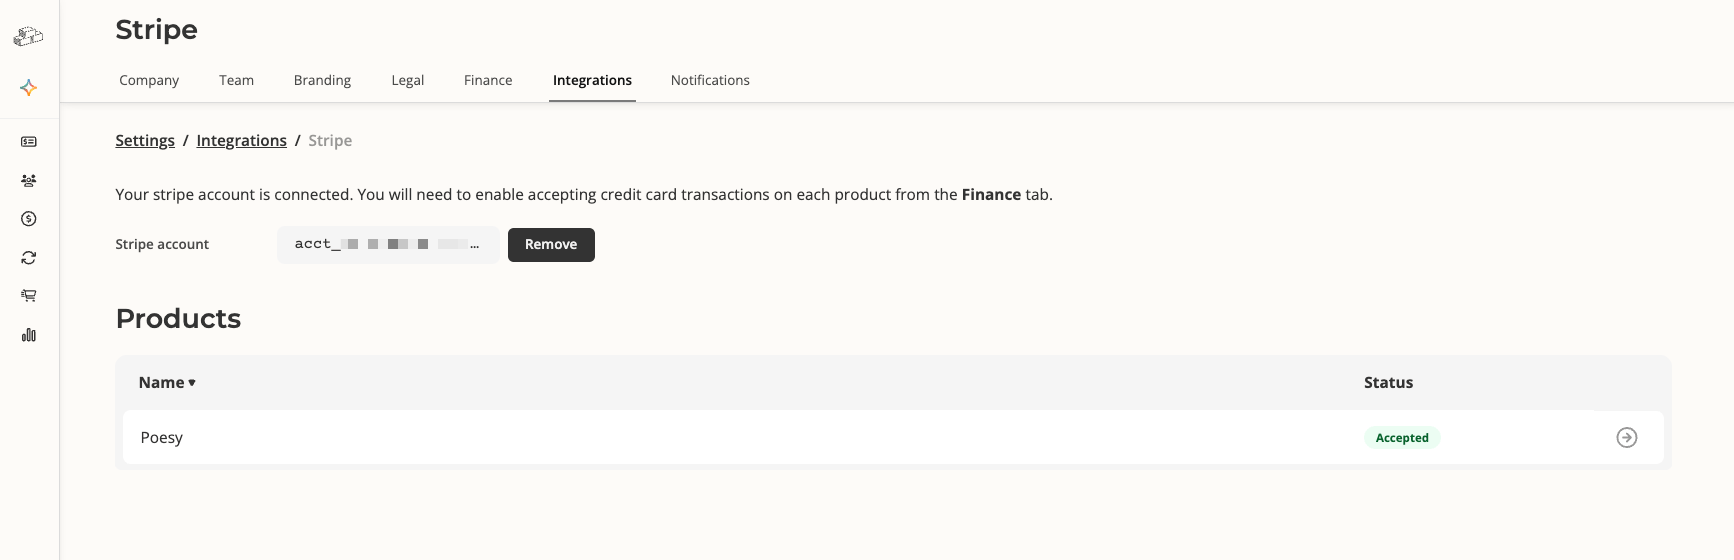
 Congratulations! Your Stripe business account is now connected to Salesbricks.
 You can now enable your customers to use credit card and/or ACH during checkout, or when paying an invoice.
Read the guide on [Checkout & Invoice Payment Options](/quickstart-guide/checkout-invoice-payment-options).
## Troubleshooting
This section contains scenarios you may encounter when connecting your Stripe account to Salesbricks.
### Integration setup
#### You have a saved business in Stripe but it does not appear as a selectable option.
**Potential cause #1**: If you have a business created in Stripe, but do not see it listed when onboarding your connected account, you likely do not have admin permissions within Stripe to perform the integration for that account.
**Solution**: Ask the admin/owner of your Stripe business account to add admin permissions to your user.
**Potential cause #2**: Your primary Stripe account may not be linked to the email address you used for login.
**Solution**: Verify that your business is linked to the email you used for login.
**Potential cause #3**: Your business may not be available to use with Stripe's Legal Entity Sharing feature.
**Solution**: You will need to create the connected account as a new business. It will still link to your primary Stripe account, but to complete the integration you will need to fill in business details from scratch.
You can now enable your customers to use credit card and/or ACH during checkout, or when paying an invoice.
Read the guide on [Checkout & Invoice Payment Options](/quickstart-guide/checkout-invoice-payment-options).
## Troubleshooting
This section contains scenarios you may encounter when connecting your Stripe account to Salesbricks.
### Integration setup
#### You have a saved business in Stripe but it does not appear as a selectable option.
**Potential cause #1**: If you have a business created in Stripe, but do not see it listed when onboarding your connected account, you likely do not have admin permissions within Stripe to perform the integration for that account.
**Solution**: Ask the admin/owner of your Stripe business account to add admin permissions to your user.
**Potential cause #2**: Your primary Stripe account may not be linked to the email address you used for login.
**Solution**: Verify that your business is linked to the email you used for login.
**Potential cause #3**: Your business may not be available to use with Stripe's Legal Entity Sharing feature.
**Solution**: You will need to create the connected account as a new business. It will still link to your primary Stripe account, but to complete the integration you will need to fill in business details from scratch.